Category: Info

  • Transfering Earnings to Rapid Wallet

    Transfering Earnings to Rapid Wallet

    [vc_row][vc_column][vc_column_text]Help > Seller > Transfering money to Rapid Wallet [/vc_column_text][/vc_column][/vc_row][vc_row][vc_column][vc_column_text]

    Rapid Wallet is another payment method that is accepted in Rapidbump. BND $1 is equivalent to $1 in your Rapid Wallet.

    In order for your earning to transferable to your Rapid Wallet, the order has to be completed first. This means that, item has been shipped and Rapidbump concluded that it is safe from refunds, chargeback. You can transfer the available balance from your Earning to your Rapid Wallet anytime before your cash-out cycle. You can opt for Manual cash-out cycle if you wish to transfer them anytime to your Rapid Wallet. Your Available balance will be update once the order has met the required mention.

    Note that any earning that is transferred to your Rapid Wallet will be deducted directly from your Available Earning balance. This will be reflected in your Earning Transaction history.

    To transfer your earning to Rapid Wallet:-

    1. Log into your account.
    2. Go to your seller dashboard
    3. Click on Settings links, select Payment tab
    4. Go to Transfer Fund
    5. On your Completed Order List, click Transfer.

    Earning transfer should begin immediately.


  • How Do I Get Paid for Online Sales?

    Help > Seller > How do I get paid for online sales?

    There are 2 ways that you can get paid at Rapidbump.

    1. Transfer your earning to your Rapid Wallet
    2. Transfer to your Bank

    Transferring to your Rapid Wallet

    You don’t need a bank account to start receiving online payment. Your earnings can be transferred to Rapid Wallet and be used for purchases immediately. Rapid Wallet works in a way when you wanted to purchase something in Rapidbump without needing to wait for Fund process to complete (usually 2-3 working days).

    After a sale occurs, Rapidbump processes the payment from the buyer. Once  you have sent Rapidbump confirmation that the order has been shipped,  Rapidbump credits the net proceeds from the sale to your seller account. Keep in mind that refunds to buyers, selling fees, and other transactions are debited against amounts credited to your account from sales.

    Once your earning becomes available, you will be able to transfer your earning to your Rapid Wallet via Payment Setting in your Seller Dashboard.

    Transferring to your Bank

    To initiate a transfer of funds from your seller account to your bank account, Rapidbump payment requires:

    After a sale occurs, Rapidbump processes the payment from the buyer. Once  you have sent Rapidbump confirmation that the order has been shipped,  Rapidbump credits the net proceeds from the sale to your seller account. Keep in mind that refunds to buyers, selling fees, and other transactions are debited against amounts credited to your account from sales.

    The funds in your seller account will be automatically transferred to your bank account according to your cash-out cycle. Transfer of funds will be initiated once Rapidbump concludes that it is no longer necessary to hold funds to cover chargebacks, refunds, or other claims against your sales transaction. For more information, see Transferring Funds to Your Bank Account.

    To receive funds, you must provide a valid Brunei Bank checking account.



  • Entering Your Banking Information

    Entering Your Banking Information

    [vc_row][vc_column][vc_column_text]Help > Seller > Entering your Banking information [/vc_column_text][/vc_column][/vc_row][vc_row][vc_column][vc_column_text]

    If you need to enter your bank account information for the first time or update it later, you can do so in your seller settings.

    Sellers will receive money to their valid Brunei checking account in Brunei Dollar.

    To enter new bank account information:

    1. Log into your account.
    2. Go to your seller dashboard
    3. Click on Settings links, select Payment tab
    4. Go to Overview
    5. Click on Add bank details / Change bank details
    6. Updating your bank account information will not affect settlements or payments already being processed


    To delete bank account information:

    1. Log into your account.
    2. Go to your seller dashboard
    3. Click on Settings links, select Payment tab
    4. Go to Account summary
    5. On your “How you get paid”, Click delete


    Required Bank Information

    1. Name as displayed in your Bank Statement
    2. Bank Name (e.g. Baiduri, BIBD etc)
    3. Bank Account Number
  • 28-06-2017 Infographic

    28-06-2017 Infographic

    [vc_row][vc_column][yp_single_image img_src=”15214″ img_size=”full” link_to_full_image=”1″ center=”1″][/vc_column][/vc_row]

  • Delivery Settings

    Delivery Settings

    [vc_row][vc_column][vc_column_text]Help > Seller > Shipping Delivery Settings [/vc_column_text][/vc_column][/vc_row][vc_row][vc_column][vc_column_text]

    [vc_row][vc_column][vc_column_text]The online payment only works with postal delivery.

    Shipping via postal delivery options can only work if these criteria are met:-

    • You have set your  national / international shipping fee above BND $0.00
    • Or,  national / international set this free. Tick the free shipping options
    • And you have to untick disable national shipping

    Have a look at the settings below the help you through this initial shipping settings. Once they are set, they are by default linked to any new product you have made. This does not automatically reflect on products that you have previously posted. You can also set these settings in your “Add Product” forms under advanced settings.

    For more info about adding product, see How to Sell Games or Sell other products[/vc_column_text][/vc_column][/vc_row][vc_row][vc_column width=”1/2″][yp_single_image img_src=”15183″ link_to_full_image=”1″][vc_column_text]Free shipping settings[/vc_column_text][/vc_column][vc_column width=”1/2″][yp_single_image img_src=”15182″ link_to_full_image=”1″][vc_column_text]Paid shipping settings[/vc_column_text][/vc_column][/vc_row][vc_row][vc_column][vc_column_text]Add Product Handling Fee when you the items are heavy or huge and requires special packaging. This  is up to you as a seller[/vc_column_text][vc_column_text]

    [/vc_column_text][/vc_column][/vc_row]

  • Sharing on Social Media

    Sharing on Social Media

    Maybe you want to share with a friend on a cool game you saw, or maybe you want to inform your customers on your new inventory. Regardless of your goals, a single share really goes a long way.  At Rapidbump sharing your product on Facebook timeline, Business Page or Facebook group is very easy. There are 2 ways to achieve this

    Method 1

    For seller, you can access this directly through your product listing.

    We also integrated your product listing share buttons with Rapidbump Recruit System where you could enjoy the benefit of referrals from user that registered through your shared post. Thus as you grow your Rapid Points, you can take advantage of this to increase the value of your points to a direct purchasable fund to your Rapid Wallet.

    To find out more on our Point and Reward System and Referrals, see Rapid Points, Rapid Wallet and Recruit and Redeem Level System.


    Method 2

    Another way that you could share your product is through your Product Page

    In order to achive this achieve this:-

    1. Go to the product page you wish to share
    2. Scroll until you see a share facebook icon 
    3. Click it
    4. Make sure you are login to facebook. Sometimes you have to enable pop-up in Rapidbump in order for this to show up
    5. A facebook share dialogue will be shown
    6. You can choose to share in your own timeline or in a group you joined.
    7. Click “Post to facebook”
    8. Done


  • Delivery Packaging Requirement

    Delivery Packaging Requirement

    [vc_row][vc_column][vc_column_text]

    H2 Title

    Introductory text block[/vc_column_text][vc_column_text]


    H3 Sub-Title

    Sub-content text block[/vc_column_text][vc_separator css=”.vc_custom_1501322701331{padding-top: 5vw !important;}”][/vc_column][/vc_row][vc_row][vc_column][/vc_column][/vc_row]

  • How Do I Sell Hardwares?

    How Do I Sell Hardwares?

    [vc_row][vc_column][vc_column_text]Help > Seller > How do I sell hardware? [/vc_column_text][/vc_column][/vc_row][vc_row][vc_column][vc_column_text]

    You can also sell products other than games. This includes consoles, PC, PC hardware, Gaming Mouse etc.

    Our algorithm is optimised to sell games, but we also allow anything outside our database.

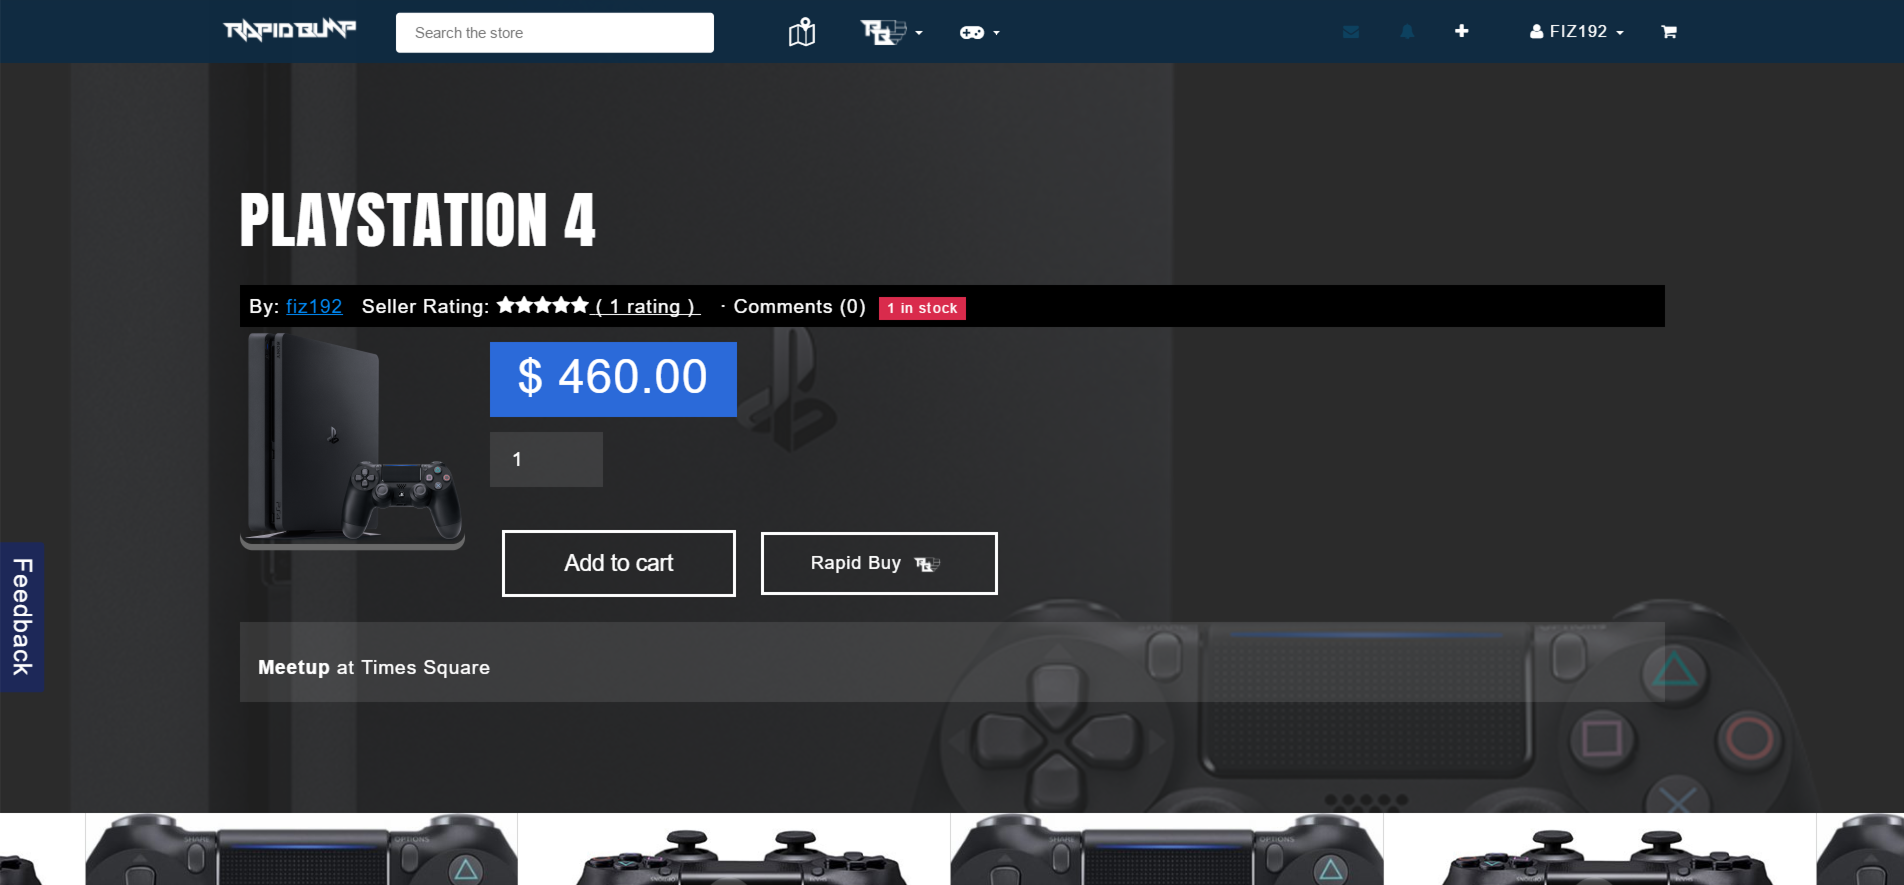
    Lets say we want to sell Playstation Console. What do we do?

    We will go through steps by step on how to add product that is outside our game database system.

    1. Click “Add Product” button. This is easily accessible through your Navigation bar with “+” sign, or in your Seller Dashboard
    2. Once you are there, click on Product Name. Our algorithm will run through the database, to search best match with your title.
      • You can type any name here and when you are done press Enter / Return
      • You can also click the top search labeled as Custom Label
    3. Any Custom Label  items will have Miscellaneous  in the category. Since we are selling game console. Add “Hardware” in the category
    4. If you are selling a new item, please add “New” in the category
    5. Set your Price
    6. Make sure you add descriptions, such as Region, Condition or any info that would be useful to your customer.
    7. Add tags, for customers to easily search your product. Think of what they might search for e.g. ps4, console.
    8. You don’t usually need to use the advanced Settings but there are useful stuff there when required
      • You can set your item as private so that it is not searchable through our search algorithm. This is useful when we add online payment, and you want to use our online payment to sell to your customer.
      • Virtual is usually use for item such as PSN Card, League of Legends RP, Steam Key etc
      • Downloadable  is used if you are selling games you developed (Any Indie Developer here? )
      • Inventory , allows you to manage your stock. If you have unlimited stock, you can untick “Manage stock” to allow them to run infinitely after every purchases.
    9. Once you are happy with it, click “Add Product”
      • “Save Draft” allows you to save your entire setting without publishing the item. This is useful when you want to view your item first. You can ofcourse edit them later to publish them
      • Your item is not live until you see its “Online” in your Product list.
    10. Done.


    [rev_slider alias=”seller_add_product_hardware”]

  • How Do I Sell Games?

    How Do I Sell Games?

    [vc_row][vc_column][vc_column_text]Help > Seller > How to sell a game? [/vc_column_text][/vc_column][/vc_row][vc_row][vc_column][vc_column_text]

    Adding games to your sell list is very simple. We have massive library of game data to automatically set information about the game such as genre, platform, images.

    Majority of the task is already done automatically by Rapidbump algorithm.

    We will go through 10 of steps to get you start with your first game sell?

    1. Click “Add Product” button. This is easily accessible through your Navigation bar with “+” sign, or in your Seller Dashboard
    2. Once you are there, click on Product Name. Our algorithm will run through the database, to search best match with your title.
      • You can limit the search futher by adding the console you are looking for such as ps3, ps4, xbox, xbox 360, nintendo, 3ds, nds etc
      • Searching will take only a few seconds
    3. Once its loaded, click on the game you want to sell.
    4. Everything will automatically set including  featured image, categories. 
    5. If you are selling a new item, please add “New” in the category
    6. Set your Price
    7. Make sure you add descriptions, such as Region, Condition
    8. Add tags, for customers to easily search your product. Think of what they might search for e.g. mgsv, ffxv etc
    9. You don’t usually need to use the advanced Settings but there are useful stuff there when required
      • You can set your item as private so that it is not searchable through our search algorithm. This is useful when we add online payment, and you want to use our online payment to sell to your customer.
      • Virtual is usually use for item such as PSN Card, League of Legends RP, Steam Key etc
      • Downloadable  is used if you are selling games you developed (Any Indie Developer here? )
      • Inventory , allows you to manage your stock. If you have unlimited stock, you can untick “Manage stock” to allow them to run infinitely after every purchases.
    10. Once you are happy with it, click “Add Product”
      • “Save Draft” allows you to save your entire setting without publishing the item. This is useful when you want to view your item first. You can ofcourse edit them later to publish them
      • Your item is not live until you see its “Online” in your Product list.


    [rev_slider alias=”add_product”]


  • Meet-up Point

    Meet-up Point

    [rev_slider alias=”seller_mp”]


    Meetup Point is one of our Checkout Shipping Method for Buyer and Seller transaction. It is commonly term as MP.

    How to Enable a Meet-up

    In order for Seller to use them, this setting has to be enabled by the you in your Seller Dashboard. It is not shown during your first Registrations as seller.

    **Your customer will not be able to go through the Checkout Process if this not yet enabled.

    **In the later version, we will add online payment which allows them to choose Delivery as an alternative. (This will also need to be set by you the seller.)

    Here are the 11 steps on how to enable this:-

    1. Go to your Seller Dashboard. You can click on Setup MP on the notice which will bring you straight to the Setting/Shipping Tab.
    2. Go to the Shipping Tab
    3. Click on “Enable Meetup Point”
    4. A map will pop up. You can search your desired location via the Search Box at the top right corner of the map.
    5. Select the location
    6. If this location is a landmark (shop, or known building), an Icon will appear
    7. Click on that Icon to drop your MP marker and the location name will be automatically set to the location
    8. You can also double click/tap anywhere in the map to set a custom position, the location name will be set with a coordinate. You can edit them
    9.  click “Save Changes”
    10. Done.

    How to Decline a Meet-up

    Some MP are just too far, or can’t be done.  Rapidbump allow sellers to decline offers easily in just a few steps.

    Please note that, if you declined an offer, you cannot revert this. Negotiate with the requester before doing so.

    This is only available for Meetup orders.

    You can follow this simple steps:-

    1. Go to your Seller Dashboard
    2. Click on the Order Tab
    3. Look for the Order that you wish to decline.
    4. Click on “Decline order”
    5. Confirm by clicking “Yes”
    6. Check if order is set to cancelled.
    7. Done.

    [rev_slider alias=”decline-meetup”]